In Excel, using Visual Basic, you can change an image as you scroll. This makes it easy to look at each image and annotate it.
This is how I transcribed every Calvin & Hobbes.
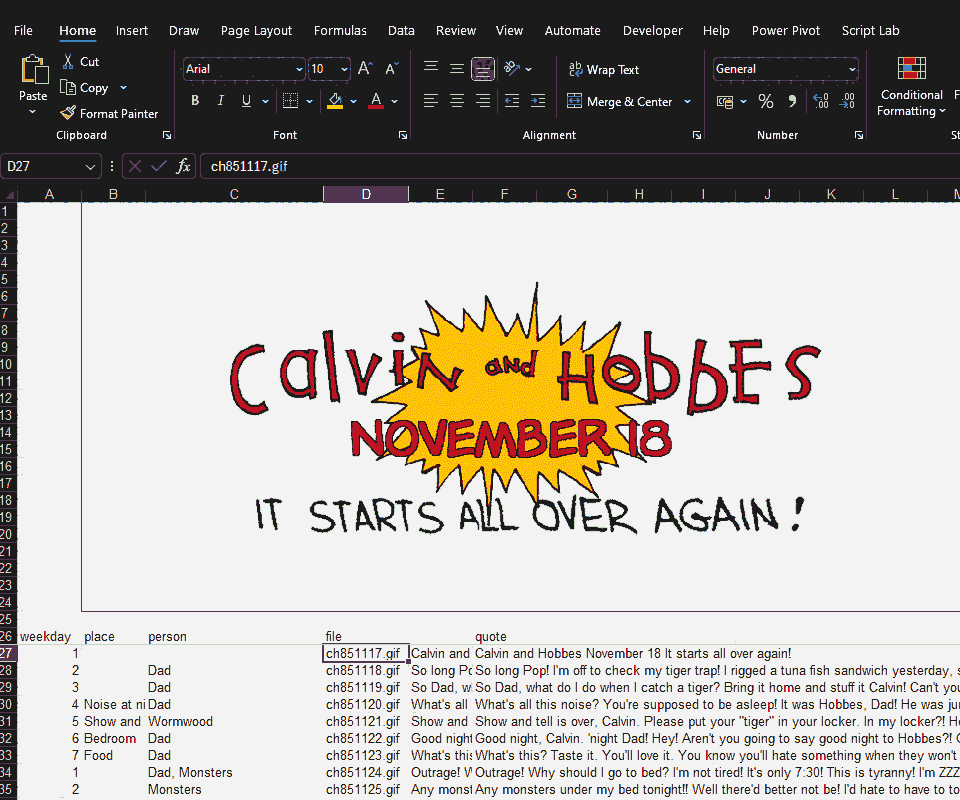
I used this technique first when typing out the strips during my train rides from Bandra to Churchgate. I had an opportunity to re-apply it recently when we needed to tag hundreds of photographs based on a set of criteria.
Here’s how you can do this. Note: This works only on Windows.
STEP 1: Create a new Excel workbook and save it as an Excel macro-enabled workbook. (Note: When opening it again, you need to enable macros)

STEP 2: Open File > Options (Alt-F-T), go to Customize Ribbon. Under “Customize the Ribbon”, enable the “Developer” menu.

STEP 3: In Developer > Insert > ActiveX Controls, select Image and draw a rectangle from A1 to J10. (Resize it later.)

STEP 4: By default, this will be called Image1. In any case, note down the name from the Name box on the top left.

STEP 5: In cells A11 onwards, add paths to file names.

STEP 6: Click Developer > Visual Basic (Alt-F11), go to ThisWorkbook, and paste this code:
Option Explicit

Private Sub Workbook_SheetSelectionChange(ByVal Sh As Object, ByVal Target As Excel.Range)
    Dim img As String
    img = Sh.Cells(Target.Row, 1).Value
    If (img <> "" And img <> "file") Then ActiveSheet.Image1.Picture = LoadPicture(img)
End Sub
Replace ActiveSheet.Image1 with ActiveSheet.(whatever) based on your image name in Step 4.
STEP 7: Select Developer > Design Mode. Click on Image1. Then select Developer > Properties. In this panel, under PictureSizeMode, choose 3 - fmPictureSizeModeZoom to fit the picture.

Now scroll through the rows. The images will change.

Comments